How to Print Your Birthday Card (Without Messing It Up)
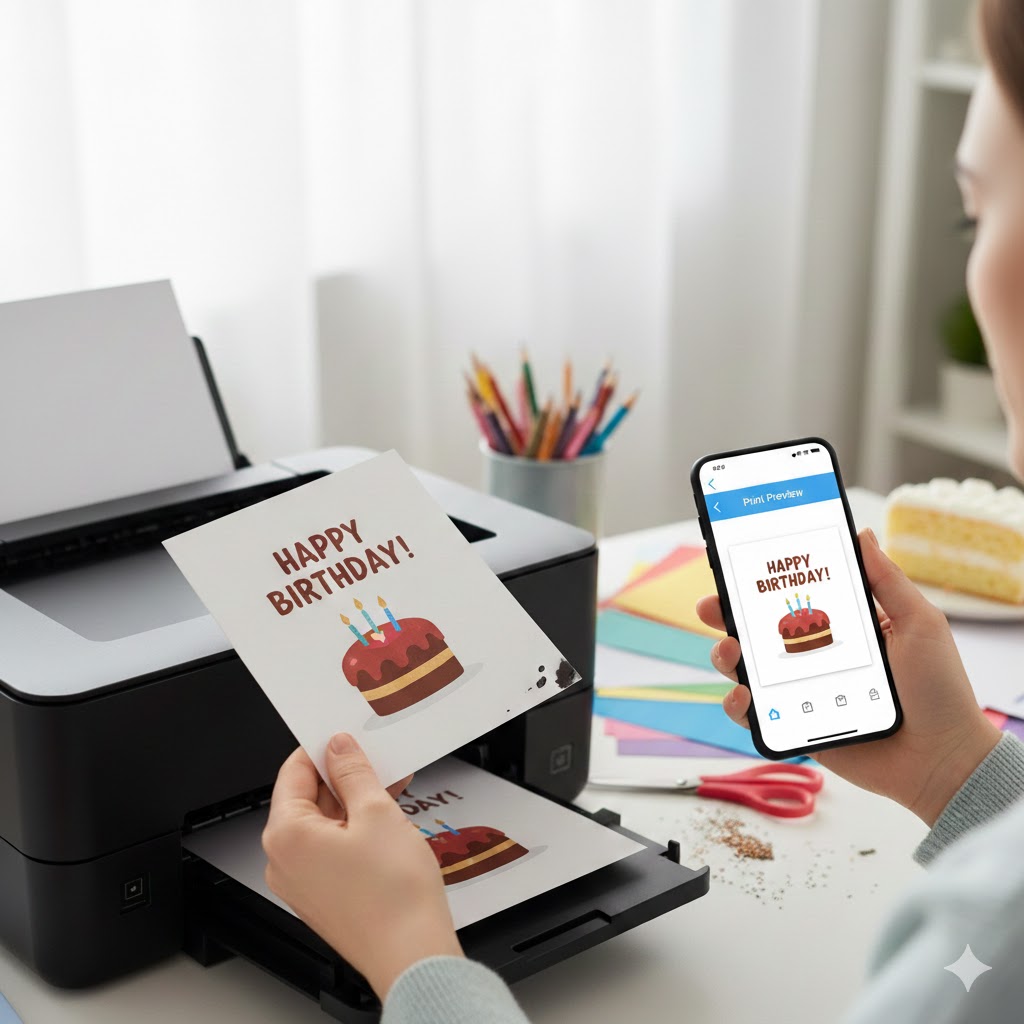
We’ve all been there: it’s your nephew’s or colleague’s birthday today, the shops are closed (or you simply don't feel like dropping $5 on a piece of cardboard), and the stress starts to kick in.
The good news? You’ve already done the hard part by finding a stunning card on our site. Now, all that’s left is to print it. But be careful—between the screen and the paper, there are a few traps to avoid so you don't waste ink or end up with a postage-stamp-sized card.
No need to be an IT expert or own a professional-grade printer. In 2 minutes and 3 simple tips, we’ll explain how to get a perfect card, ready to be gifted.
1. The right file for the right job
📄 PDF vs Image: which one to choose?
On our site, you have two download options. Why? Because they serve two different purposes:
- High-Resolution PDF: This is the one you need for the printer. It maintains pristine quality even in large formats. Your card will come out crisp, with bold colors and well-defined edges.
- Image (JPG or PNG): This is for sending via WhatsApp, SMS, or posting on Facebook/Instagram. Handy if you don’t have a printer nearby or if you just want to send a quick digital hello.
2. Paper: making something beautiful with what you have
Good news: you don’t need to rush to the office supply store to make something pretty. Here are your options:
🤑 The "Smart Saver" Option
Do you have standard A4 paper (80g)? Perfect! It’s more than enough. The trick to making it not look "cheap": a good, clean fold. We’ll explain how to do that just below.
Eco-bonus: use the back of an already printed sheet for a test run before printing on fresh paper.
⭐ The "Top Quality" Option
Do you have slightly thicker paper (like cardstock, photo paper, or Bristol board) lying in a drawer? Now is the time to use it! With 200g or 250g paper, your card will have a near-professional finish.
Warning: check that your printer accepts this type of paper (some budget printers jam with paper that is too thick).
3. Printer Settings (The critical moment)
This is where it all happens. One wrong move and your superb card becomes a miniature stamp or a messy blob of colors. Follow the guide:
⚙️ The 3 settings you must check
1. Scale at 100% (CRUCIAL!)
This is THE classic trap. By default, many printers check "Fit to page" or "Fill page". The result: your card ends up stretched, cut off, or tiny.
What to do: In the print options, look for "Scale" or "Size" and select "Actual Size" or "100%". That way, your card will be printed exactly to the right dimensions.
2. Print Quality: Standard or High
Don’t stay in "Draft" or "Fast" mode. Sure, it saves ink, but your colors will look faded and dull. For a birthday card, we want some pop!
The right setting: Choose "Standard" (sufficient in 90% of cases) or "High quality" if you really want to impress.
3. Color mode enabled
It might sound silly, but we’ve all made the mistake: check that you haven't accidentally stayed in "Black and White." Your stunning rainbow unicorn card deserves better than a grayscale print.
4. Cutting and Folding: The final touch
Your card is printed? Great! Now, it's time for the manual part. This is what will make all the difference between "nice" and "totally classy."
✂️ Follow the trim marks
On our foldable cards (10x14 cm format), you will see small black marks in the corners. These aren't printing defects; they are your GPS for cutting straight!
How to do it: Grab some scissors or a craft knife (watch your fingers!) and cut along these marks. If you have a ruler and a craft knife, it’s even better for perfectly clean edges.
📐 The ruler trick for a perfect fold
Want a fold worthy of a real card bought in a shop? Here is the pro technique (well, for clever DIYers):
- Place a ruler on the fold line (in the middle of your card)
- Take a slightly pointed but not sharp object: an empty ballpoint pen, the back of a butter knife, or even a knitting needle
- Pass this object along the ruler, pressing lightly to "score" the paper
- Then fold: the crease will be sharp, without any unsightly cracks
This technique is called "scoring" in the industry. But hey, we just call it "the ruler trick" because it sounds friendlier.
For A4 format cards (with the design on one half), it's even simpler: no cutting required, just a fold in the middle. Done and dusted!
5. Summary: The last-minute checklist
To make sure you don't forget anything when you're in a rush, here is the express recap:
| Step | What to check |
|---|---|
| File | Open the high-resolution PDF |
| Paper | Load A4 paper into the tray (standard or thick, it's up to you) |
| Settings |
|
| Action | Print, cut (if necessary), fold... and admire the result! |
There you go, your card is ready!
All that’s left is to find a pen and write a nice little note inside. Mission accomplished!
Did you enjoy the simplicity and the savings? Feel free to share the site address with your friends, family, or colleagues who, like you, love giving gifts without breaking the bank.
📱 No printer handy?
No worries! Download the image version of your card and send it directly via SMS, WhatsApp, or on social media. It's fast, it's free, and it always makes an impact!